Commercial Sink Installation Cost & Rough-In Guide
- Share
- publisher
- Samsink
- Issue Time
- Nov 19,2026
Summary
What commercial sink installation really costs in 2026, how to fix stainless steel sink rough-in dimensions before demolition, and what changes for medical facility sinks — with cost tables, ADA clearance rules and a seven-stage inspection sequence from a manufacturer that has built commercial sinks since 1995.
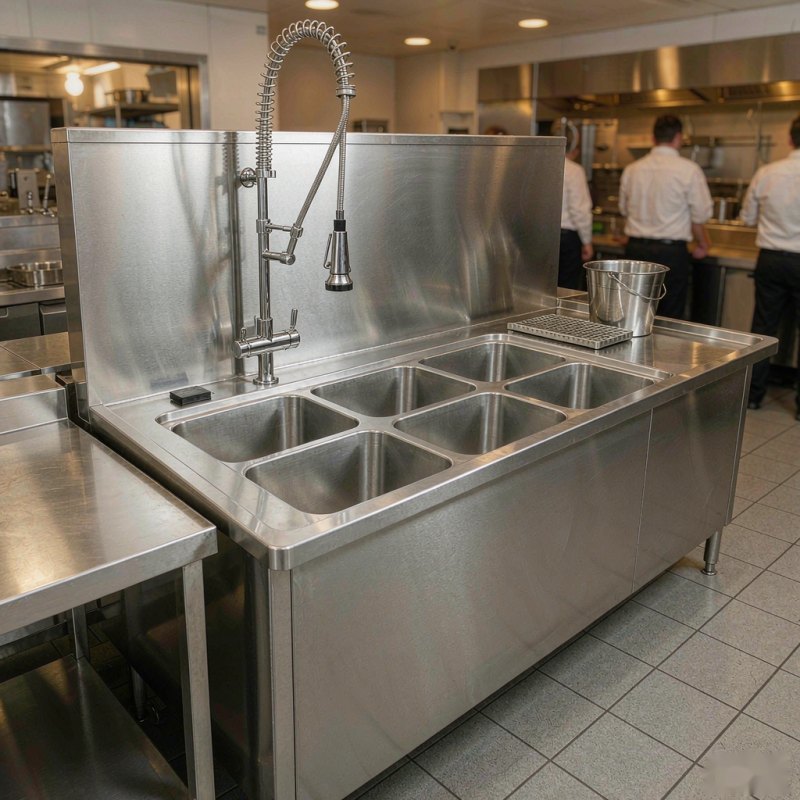
A commercial sink looks like a simple purchase until the plumber opens the wall. The fixture might cost $400, but the drain stub that sits 14 inches too far to the left can turn a two-hour job into a two-day one — with concrete coring, a re-inspection and a shut-down service line. This guide breaks down what commercial sink installation actually costs in 2026, the stainless steel sink rough-in dimensions you must confirm before demolition starts, and the specific requirements that make commercial sink installation for medical facilities a different job from a restaurant scullery.
Commercial sink installation costs $430–$1,150 for a single hand or prep sink, $1,800–$4,900 for a three-compartment warewashing sink with drainboards, and $3,700–$9,700 per two-station medical scrub sink. Labour alone typically runs $250–$650 per fixture, or $85–$150 per hour in North American metros. A full retrofit — coring, permits, grease interceptor, commissioning — lands between $9,500 and $31,500. Rough-in error is the single largest cause of overrun, because moving a drain stub after the slab is poured costs more than the sink itself.
What Commercial Sink Installation Costs in 2026
Installation cost is not one number, it is three: the fixture, the labour to set and connect it, and the site work needed to make the connection legal. Most published "installation cost" figures only quote the middle one, which is why budgets blow up in week two.
The ranges below are compiled from project quotations our engineering desk handled between 2024 and 2026 for North American, EU and GCC buyers, cross-checked against contractor pricing published in the same period. They assume an existing, code-compliant drain within 3 feet of the fixture, a standard 8-foot ceiling, and daytime access. Everything else is an add.
| Fixture | Equipment | Labour & fittings | Typical all-in |
|---|---|---|---|
| Wall-mounted hand sink, 1 station | $180–$450 | $250–$550 | $430–$1,000 |
| Drop-in prep sink, single 18 × 18 bowl | $150–$500 | $300–$650 | $450–$1,150 |
| Three-compartment warewashing sink, 18 × 18 bowls + 2 drainboards | $1,200–$3,500 | $600–$1,400 | $1,800–$4,900 |
| Three-compartment + pre-rinse + grease interceptor | $2,500–$6,500 | $1,800–$5,500 | $4,300–$12,000 |
| Medical scrub sink, 2-station, hands-free | $2,800–$7,500 | $900–$2,200 | $3,700–$9,700 |
| Floor-mounted mop / service sink | $350–$900 | $400–$900 | $750–$1,800 |
Excludes sales tax, freight beyond 50 miles, and any structural or slab work. A parallel industry range for a full 36-inch triple-bay retrofit — engineering, permitting, fabrication, rough-in, commissioning — is $9,550–$31,500, and ADA-compliant configurations typically add 18–22% on top.
Seven Things That Move the Price Most
Two identical sinks in two identical kitchens can differ by 3× on installation cost. These are the variables worth interrogating before you accept a quote.
1. Where the drain actually is
Tying into an existing stub within 3 feet is routine work. Cutting a new stub through a post-tension slab, or coring a structural wall, adds $1,200–$4,500 and usually a structural sign-off.
2. Grease interception
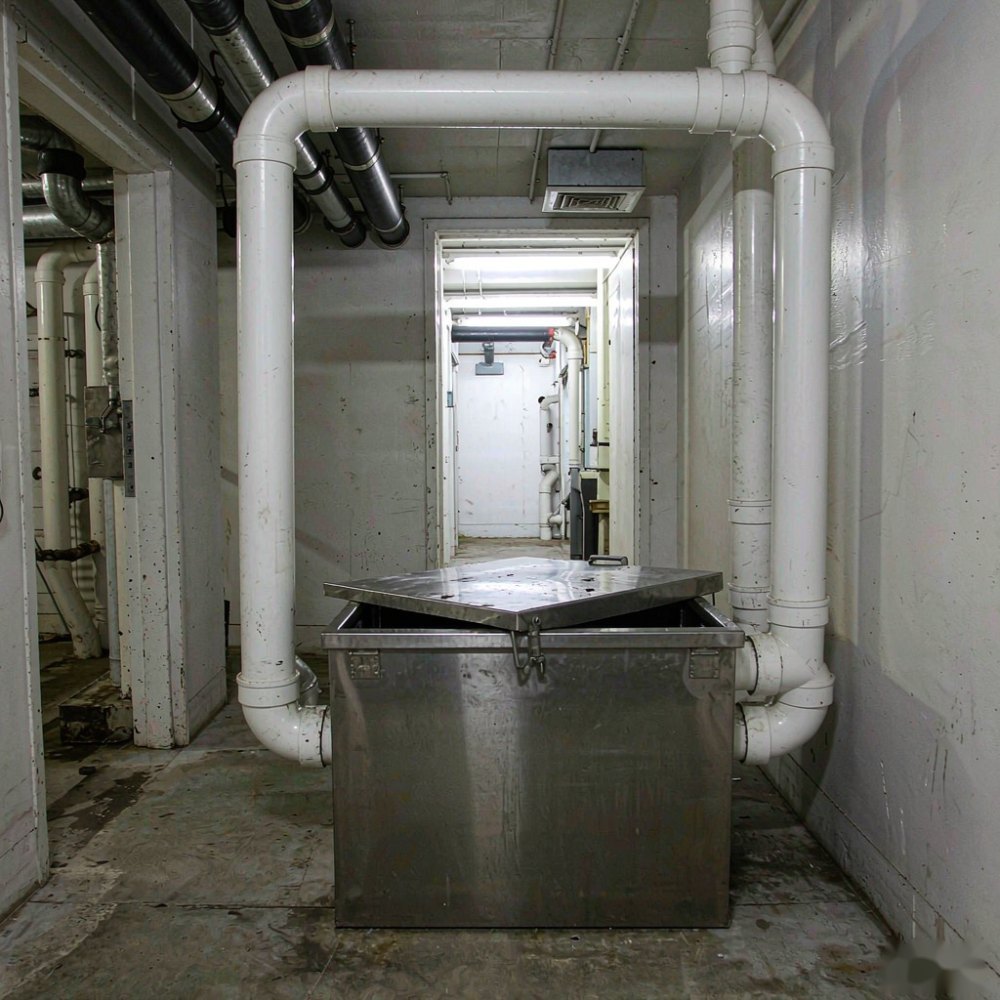
If the local authority classifies your kitchen discharge as containing fats, oils and grease, an interceptor becomes mandatory. A 35–50 lb under-sink unit costs $400–$1,200 installed; a 75-gallon exterior unit with excavation runs $4,000–$9,000.
3. Hot water capacity
A three-compartment sink needs a sustained 110–120 °F at the tap during peak wash. If the existing heater cannot hold it, a 20 kW booster heater adds $1,500–$2,500 installed plus an electrical circuit.
4. Air gap or backflow device
Indirect waste with a proper air gap, or a testable backflow preventer, is a hard requirement in most jurisdictions. Budget $150–$600 per fixture and confirm who signs the annual test report.
5. Hands-free controls
Sensor, knee or foot operation adds $250–$700 per station on the fixture and $100–$300 on the labour side, mostly in valve mounting and commissioning.
6. Accessibility retrofit
An accessible sink in an existing millwork run often needs an offset drain, insulated supply lines and a shallower basin. That is a $400–$1,500 change per station, not a bolt-on.
7. When the work happens
After-hours, weekend and phased installations in operating kitchens carry a 25–60% labour premium. In hospital work, infection-control barriers and permit-to-work procedures add another 10–20%.
Alternative: rigging
A loaded three-compartment sink weighs 400–600 lb. Stair carries, lift bookings and doorway removals are billed hourly and are frequently forgotten in the budget.
Stainless Steel Sink Rough-In Dimensions: The Numbers to Lock Before Demolition
Rough-in is the fixed geometry behind the finished surface — supply heights, drain stub position, vent connection, and the structural opening. Get these wrong and no amount of site skill recovers the schedule. The table below is the working set we send to fabricators and installing contractors; confirm every line against the specific model drawing before the wall closes.
| Parameter | Three-compartment warewashing | Drop-in prep sink | Wall-mount hand sink | Medical scrub sink |
|---|---|---|---|---|
| Drain opening | 3½ in (89 mm) basket strainer per bowl | 3½ in (89 mm) | 3½ in or 2 in, model dependent | 3½ in, or 2 in when the clinical spec calls for a larger outlet |
| Drain stub-out | 2 in minimum, sloped to the stack | 1½ in | 1½ in | 2 in |
| Supply rough-in | ½ in at 28–32 in above finished floor | ½ in at 28–32 in AFF | ½ in at 28–32 in AFF, on the model's centres | ½ in at 28–32 in AFF, thermostatic mixing valve required |
| Finished rim / work height | 34–36 in AFF — take it from the drawing | 34–36 in counter height | 34 in maximum for an accessible station | 34 in maximum where staff or patients are seated |
| Rear clearance | 6–8 in from the wall for drain fittings | Per cabinet design | Flush to wall on a bracket | Flush to wall, sealed with a continuous bead |
| Counter cutout | Not applicable — freestanding | Overall size minus 5/16 in (8 mm) per side | Not applicable | Not applicable — wall-hung or freestanding |
| Trap and vent | Individual P-trap per compartment; confirm the trap-to-vent limit in your code edition | Single P-trap, vented | Single P-trap, vented | Single P-trap per station, vented, accessible for disinfection |
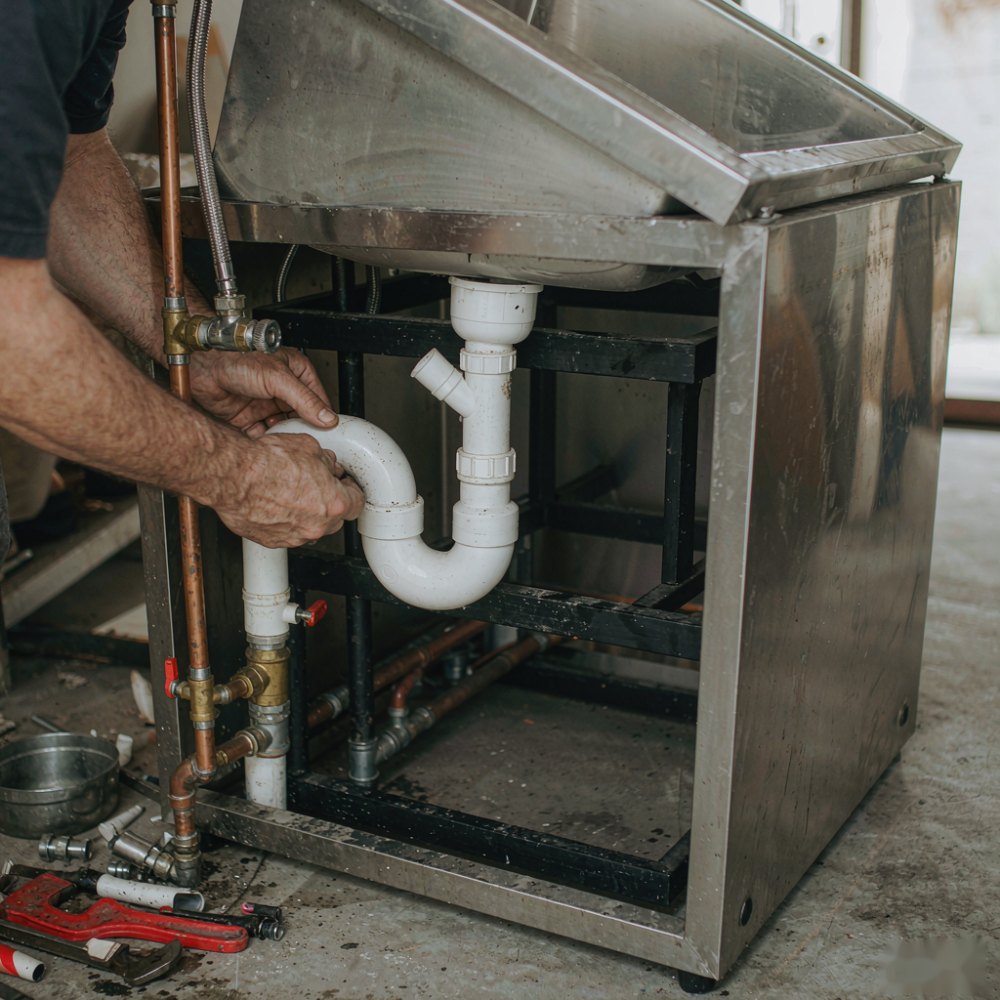
One practical note on the cutout figure. The 5/16 in per-side reduction is the most common drop-in allowance, but it is a rim-overlap figure, not a law. Deep-drawn rims with a wide flange need less removed; a sink with a 1-inch flange set into a thin stainless counter needs a tighter tolerance or the rim will not seat. Always cut to the model's cutout drawing, not to the nominal bowl size.
Buyers order the sink, then discover the existing drain stub sits under the middle compartment rather than the end one, or that the wall the sink hangs on is drywall over metal stud with no blocking. Both are invisible until demolition. A 30-minute site survey with a tape measure — wall type, stub coordinates from two fixed references, floor-to-rim height, hot water capacity — prevents the majority of commercial sink installation cost overruns.
Rough-In, Step by Step: The Seven Stages That Get Inspected
Installation is inspected in stages, and each stage closes a wall, a floor or a permit. Sequence matters more than speed.
Confirm jurisdiction and permits
Establish which plumbing code edition applies locally, whether a grease interceptor is triggered, and the mandated drain size. Pull the plumbing permit before any cutting — unpermitted work is routinely discovered at change of occupancy.
Freeze the sink model first
Order or at least specify the exact model before rough-in. Basin depth, drain position, faucet hole centres and backsplash height all come from the drawing, and they are what the plumber measures against.
Set supply, drain and vent
Supplies at 28–32 in AFF, 2 in drain stub with correct fall, vent connection within the limit your code allows, and a cleanout close to the fixture. Photograph the open wall with a tape measure in frame — it saves hours later.
Pass rough-in inspection
Schedule it before the wall closes. This is also the moment to confirm the air gap or backflow device will physically fit the space you have left.
Set, level and anchor the sink
Bullet feet adjusted until the basin drains fully with no pooling. An unlevel sink is a permanent complaint and, in food service, a sanitation finding.
Connect, seal and fit the faucet
P-traps per compartment, shut-off valves on supplies, vacuum breaker where required, and NSF-listed silicone at every seam. Never use oil-based plumber's putty on stainless — it stains the surface and is difficult to remove.
Pressure-test and commission
Pressurise supplies and hold, then run volume through every basin to confirm flow and trap seal. Hand over the test record, the cutout drawing and the maintenance schedule together.
Wall-Mounted, Floor-Mounted or Drop-In: How the Rough-In Changes
The mounting type decides what the plumber chases and what the inspector looks at. Choosing the wrong one after the fact is a demolition event.
| Wall-mounted | Floor-mounted, freestanding | Drop-in / undermount | |
|---|---|---|---|
| Best for | Hand sinks, scrub stations, tight rooms | Warewashing, pot wash, mop sinks | Prep, bar and front-of-house stations |
| Rough-in lives in | The wall — blocking, bracket height, stub position | The floor — stub, trap, anchoring | The counter — cutout, rim support, trap in the cabinet |
| Wall/floor build required | Blocking rated for the loaded fixture plus dynamic load | Level slab or levelling feet with adjustment range | Solid substrate; stainless counters need a backer |
| Typical install labour | $250–$550 | $400–$800 | $300–$650 |
| Main risk | Hollow wall discovered after purchase | Drain position relative to compartments | Cutout tolerance and rim seal |
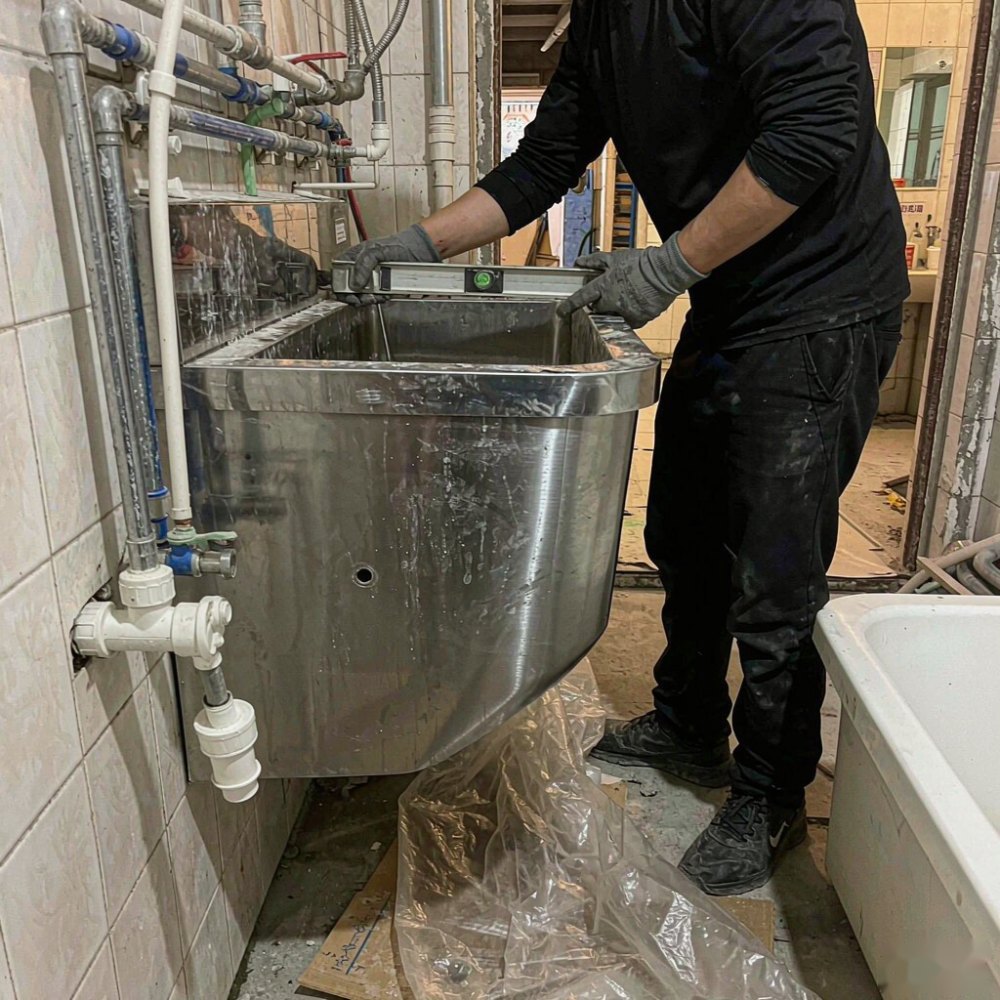
Commercial Sink Installation for Medical Facilities: What Changes and What It Costs
Healthcare work is not food service with a different logo on the door. The governing logic shifts from food-contact sanitation to infection prevention, and that changes the fixture, the plumbing detail and the paperwork around the install.
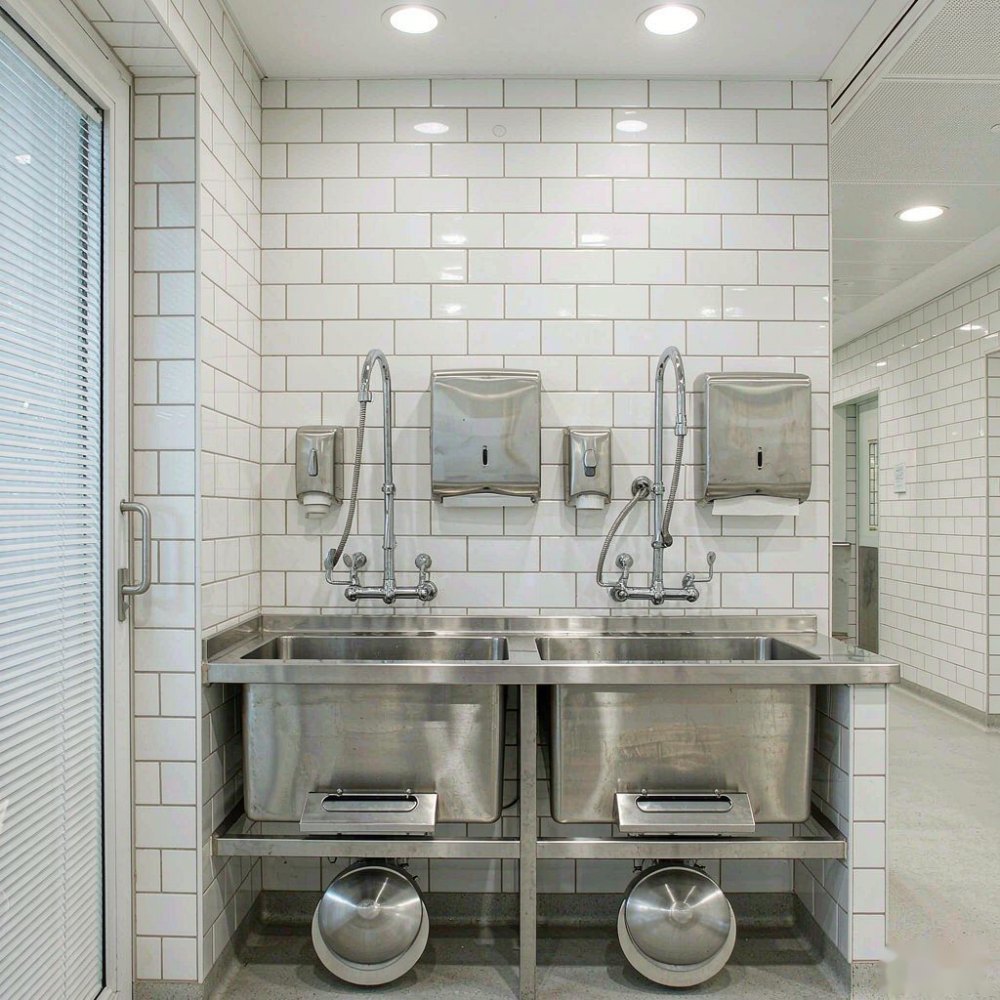
Three things drive the difference. First, control: clinical hand-wash and scrub stations are specified hands-free — sensor, knee or foot operated — because the tap handle is a recognised cross-contamination point. Second, material: chlorine-based disinfectants and repeated wipe-down cycles attack the passive layer on 304 stainless, so many hospital specifications move to 316L, whose molybdenum content resists chloride pitting. Third, cleanability: coved internal corners, a continuous sealed joint to the wall, a splash guard on the exposed sides, and no dead legs where water can stand.
On the plumbing side, expect a thermostatic mixing valve to hold outlet temperature, an accessible trap for disinfection, and drainage routed so that a blocked or slow drain cannot back up into a clinical area. In operating-room scrub areas, the stations are typically grouped outside the sterile field, and the number of positions is set by surgical throughput rather than floor area — which is why scrub sink layouts get re-planned late and expensively.
| Cost element | Food service | Medical / clinical |
|---|---|---|
| Equipment, per station | $150–$900 | $1,400–$3,750 |
| Hands-free controls | Optional | Standard — add $250–$700 per station |
| Material upgrade | 304 typical | 316L common — add 20–35% to fixture cost |
| Mixing valve and temperature control | Rare | Standard, $300–$900 per group |
| Install labour | $250–$650 | $450–$1,100, plus infection-control measures |
| Documentation | Test record | Test record, material certificates, permit-to-work, commissioning file |
Where a healthcare project runs over budget, it is rarely the fixture. It is the unplanned relocation of a drain behind a finished wall in a live ward, or a change from deck-mounted to wall-mounted after the tile is up. Both are avoidable at design stage. Our guide to hospital sinks and infection prevention covers the clinical design criteria in more depth, and the scrub sink material guide explains where 304 stops being the right answer.
ADA and Clearance Rules That Quietly Add Cost
Accessibility requirements are dimensional, so they interact directly with rough-in. Under the 2010 ADA Standards for Accessible Design, a sink in an accessible space is capped at a 34-inch rim height above finished floor, with knee clearance of at least 27 inches high and 30 inches wide, toe clearance below that, and clear floor space of 30 × 48 inches for a forward approach. Faucets must operate with one hand, without tight grasping or twisting, and exposed supply and drain pipes must be insulated.
In practice, three of those clauses cost money on a retrofit. A 36-inch millwork run has to be cut down or replaced to reach 34 inches. A standard P-trap sits exactly where the knees need to go, so the drain has to be offset back to the wall. And the insulation is not optional trim — it is a compliance item an inspector will look for.
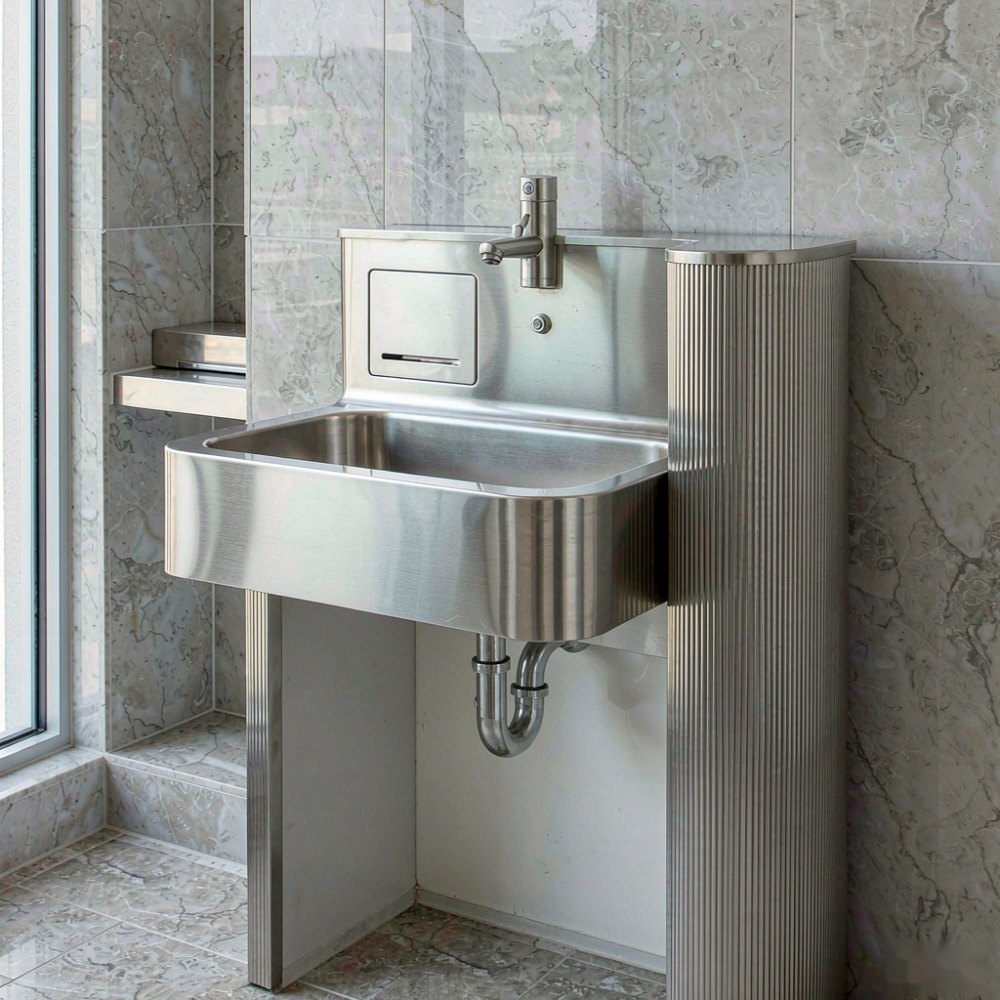
Not every sink must be accessible, but at least one of each fixture type in an accessible area typically must be, and local amendments can be stricter. Confirm the scoping requirement with the authority having jurisdiction before you decide to make only the front-of-house sink compliant.
The Hidden Line Items: Grease Interceptor, Air Gap, Backflow, Booster Heater
Four items sit between "sink installed" and "sink approved", and they are the ones most often missing from a purchase order.
Grease interceptor
Sized to the fixture's flow rate, accessible for cleaning, and installed where the maintenance crew can actually reach it. Under-sink units start around $400 installed; exterior units with excavation run into the thousands. A wrongly sized interceptor fails inspection just as reliably as no interceptor at all.
Air gap or indirect waste
Drainage from a sink must not be able to siphon back into the potable supply. Where an air gap is used, the gap dimension and the receiving fixture both matter. Where a mechanical backflow device is used instead, it has to stay accessible for testing.
Booster heater
Warewashing and scrub stations both need water at temperature at the point of use, not at the heater. If the run is long or the peak draw is high, a point-of-use booster is cheaper than upsizing the central plant.
Vent and cleanout
A trap without an adequate vent gurgles, drains slowly and eventually smells. A cleanout within reach of the fixture turns a $600 rodding job into a 10-minute task. Both are cheap at rough-in and expensive later.
Where Commercial Sink Installations Fail Inspection
These are the findings that come up repeatedly, and each one traces back to a decision made before the fixture was unpacked.
- The hand sink doubles as something else. A dedicated handwashing sink may not be used for food prep, utensil rinsing or mop water. If the layout gives staff no alternative, they will use it — and the violation is written against the operator.
- No hot water at the tap. Temperature measured at the outlet, not at the heater. Long dead legs and undersized runs fail this routinely.
- Direct connection instead of indirect waste. A hard-piped drain with no air gap or backflow protection fails in most jurisdictions and can contaminate the supply.
- Sealant instead of structure. Silicone hides a gap; it does not close one. Sinks sealed to an uneven wall crack within months and become a cleaning problem.
- Missing or wrong-certification listing. Confirm the model carries the listing your jurisdiction requires — NSF/ANSI 2 is the reference standard for food equipment — and keep the certificate with the handover pack.
- No commissioning record. Inspectors increasingly ask for evidence of a pressure test and drain-flow check. A one-page record prevents a return visit.
Three Budgets, Worked Through: Café, 120-Seat Restaurant, Clinic
Abstract ranges become useful when they are attached to a real scope. Three typical projects, priced from the same cost model.
Café fit-out — 1 prep sink, 1 hand sink
$1,300–$2,600 installed
One 18 × 18 drop-in prep sink and one wall-mount hand sink, both within 3 feet of existing stubs. No interceptor required by the local authority because the menu has no fryer. Labour is a single day for one plumber plus a half day for the counter cutout and sealing.
120-seat restaurant — 3-compartment + interceptor
$7,500–$16,000 installed
Three-compartment sink with two drainboards and a pre-rinse, a new 2-inch drain run, a correctly sized interceptor, and a booster heater because the existing plant cannot hold 120 °F at peak. Roughly 60% of the number is site work, 40% is equipment.
Outpatient clinic — 4 clinical hand-wash stations + 1 scrub station
$11,000–$26,000 installed
Four hands-free clinical hand-wash sinks in 316L with thermostatic mixing, plus a two-station scrub sink. Includes infection-control barriers, phased work around clinic hours, material certificates and a commissioning file. Labour premium for live-environment working is the biggest single difference from a restaurant job.
How to Specify the Sink So Installation Costs Drop
The cheapest installation is the one that was designed around the building's existing geometry. Four specification habits do most of the work.
Send a drawing, not a description
A plan view with the drain stub dimensioned from two fixed references, plus an elevation showing floor-to-rim, removes the ambiguity that causes rework. Our project desk returns a marked-up cutout drawing against the actual model, which is the document the contractor should be building to.
Match compartment count to workflow
A three-compartment sink where a two-compartment plus dishwasher would do is a permanent cost in floor space and plumbing. The gauge and compartment guide walks through the decision.
Choose gauge for the duty, not the price
16 gauge is the working standard for warewashing; 14 gauge is for pot wash and heavy impact. Going lighter to save $80 on the fixture usually costs more in replacement before the equipment's design life ends.
Buy the listing with the sink
Ask for the NSF/ANSI 2 listing and the material certificate at quotation stage. Chasing documentation after delivery is the slowest part of any handover — what the NSF mark actually covers is worth five minutes before you sign.
Fixture starting points from our current range
Samsink has been manufacturing stainless steel sinks since 1995, with production in Foshan and Bangkok and more than 500 in-house moulds. These are the models buyers most often pair with the scopes described above — all available with project documentation, and all customisable on size and drain position, which is usually the fastest way to avoid moving a stub.
Browse the full ranges for warewashing sinks, commercial hand washing sinks and stainless steel medical sinks. If the drain position on a standard model does not match your stub, a custom basin is usually a shorter lead time than relocating the plumbing — our custom sink process runs from drawing to sample without tooling on most sizes.
FAQ: Commercial Sink Installation Cost and Rough-In
How much does commercial sink installation cost per fixture?
Labour typically runs $250–$650 per fixture at $85–$150 per hour, or $400–$800 for a freestanding unit and $600–$1,200 for a wall-mounted configuration when the wall needs reinforcement. Add the fixture, the interceptor if required, and any slab or wall work.
What are the standard rough-in dimensions for a stainless steel sink?
A 3½ in (89 mm) drain opening, a 1½–2 in drain stub, hot and cold supplies at 28–32 in above finished floor, and a finished rim or counter at 34–36 in — with a 34 in maximum where the station must be accessible. Confirm trap-to-vent distance against your local code edition, and cut countertops to the model drawing, typically overall size minus 5/16 in per side for a drop-in.
Does a commercial sink need a grease interceptor?
Not always, but frequently in food service. The trigger is usually local plumbing code or the water authority's trade-effluent rules rather than the food code. Confirm with the authority having jurisdiction during design — retrofitting an interceptor after fit-out is significantly more expensive than including it.
What is different about commercial sink installation for medical facilities?
Hands-free operation is standard rather than optional, 316L stainless is common because of chloride-based disinfectants, thermostatic mixing controls the outlet temperature, and the trap must be accessible for disinfection. Documentation also expands: material certificates, commissioning records and permit-to-work procedures are typically required.
Can I install a commercial sink in a residential kitchen?
Not as a compliant substitute for a residential fixture. Commercial sinks are built to food-equipment standards with different drainage, materials and clearances; local codes generally treat them as commercial equipment. Use the right fixture for the occupancy.
How long does installation take?
A single hand or prep sink is a half to one day. A three-compartment sink with a new drain run and interceptor is two to four days including inspection. A clinical installation in a live building is usually phased across nights or weekends and can stretch to one to two weeks of calendar time even when the work itself is short.
Next step: get the drawing checked before you buy
Most installation overruns are decided in the 48 hours between choosing a sink and cutting the wall. If you have a plan view with the drain stub dimensioned, or even a photo of the existing rough-in with a tape measure in frame, send it over. Our project desk returns a marked-up cutout drawing, a gauge and material recommendation, and an FOB quotation — usually within two business days.
Start here: request a project quotation or talk to the Samsink engineering team. If you are still narrowing the product, the code-compliance installation guide covers clearance rules in more detail, and the hand wash sink buying guide handles fixture selection.
About this guide. Written and reviewed by the Samsink engineering and export team (Foshan, China and Bangkok, Thailand), a stainless steel sink manufacturer operating since 1995 with NSF/ANSI 2 and cUPC-certified lines and in-house tooling for over 500 sink moulds. Cost ranges are compiled from project quotations handled between 2024 and 2026 across North America, the EU and the GCC, and cross-checked against contractor pricing published in the same period; they are planning ranges, not quotations, and labour rates vary by a factor of two to three between metros. Dimensional criteria are referenced to the 2010 ADA Standards for Accessible Design, the FDA Food Code, and NSF/ANSI 2, and must be verified against the code edition your authority having jurisdiction enforces. Last updated 19 November 2026.